How to Prune Indoor Plants Like a Professional
Plant Care — The Plant Daddies
Prune With Purpose
Pruning is not maintenance. It is a conversation with your plant about where its energy should go. Learn to read it before you cut.
Why It Matters
Three things a well-timed cut does
Pruning redirects energy. When you remove a branch or stem, the plant does not mourn it. It redistributes that energy to other areas — often triggering new growth at nodes below the cut. You are not taking away; you are directing.
Dead and damaged tissue is a liability. Yellowed leaves, dead branches, and spent stems quietly drain resources. Removing them allows the plant to focus entirely on tissue that is actively contributing to its growth.
A dense canopy starves itself. Interior leaves and lower branches that no longer receive adequate light become passengers rather than contributors. Opening the canopy improves airflow and light penetration for every remaining leaf.
Encourage new growth
Cutting back a leggy stem signals the plant to push out new shoots from dormant nodes. Most tropical trees and shrubs respond to pruning with a flush of fresh growth within weeks.
Maintain proportion
Indoor plants grow to fill their environment. Regular light pruning keeps your tree in proportion with its space and prevents the awkward lankiness that comes from years of unmanaged growth.
Remove problem areas early
Catching and removing a pest-affected branch before it spreads, or a crossing branch before it wounds another, is far easier than addressing the problem after it has escalated.
What You Need
The right tool makes a clean cut
A poor cut is an open wound. Dull, dirty, or wrong-sized tools leave ragged edges that invite disease and slow recovery. Your equipment matters as much as your technique.
Bypass Pruners
Primary toolThe standard for most pruning tasks. Two curved blades pass each other like scissors, making a clean cut with minimal crushing. Ideal for stems up to about half an inch thick. Keep the blade facing the plant, not the removed piece, for the cleanest result.
Sharp Scissors
For soft stems and leavesA clean, sharp pair of scissors is ideal for removing yellowed leaves, snipping soft new growth, and deadheading. They offer more precision than pruners on delicate work. Dedicated garden scissors stay cleaner and sharper than household ones.
Loppers
For thick branchesWhen a branch is too thick for pruners or scissors, loppers are the right tool. Their long handles provide the leverage needed to cut cleanly through woody stems and large branches on mature interior trees — Ficus, Schefflera, Pachira — without tearing or crushing the tissue. If you are forcing it with pruners, switch to loppers.
Isopropyl Alcohol
AlwaysWipe your blades with isopropyl alcohol before every use and between plants. This is not optional. Moving between plants with contaminated tools is one of the fastest ways to spread pests and fungal issues that might not yet be visible.
Our Recommendation
Recommended on Amazon
Professional Garden Shears
The Cut Itself
Where and how you cut determines what happens next
Every cut you make is a signal. The plant will respond to it — for better or worse — based on where you placed the blade. A cut in the right spot triggers growth. A cut in the wrong spot leaves a stub that slowly dies back and opens the door to issues.
Cut just above a node
A node is the point on a stem where a leaf, branch, or bud attaches. This is where new growth originates. Cutting directly above one — leaving roughly a quarter inch of stem — prompts the plant to push a new shoot from that exact point. Leave too much stem above the node and it will die back anyway, just slowly.
Cut at a slight angle
Angling your cut at roughly 45 degrees allows moisture to run off rather than pool on the exposed surface. This is a small detail but it reduces the chance of rot on the cut end, particularly during periods of high humidity or in low-airflow environments.
Never remove more than a third at once
This is the rule most people break. Removing too much foliage at once sends the plant into stress — it has lost the photosynthetic capacity to sustain normal function. If a plant needs significant reshaping, do it in stages over several months. Patience produces a healthier result than urgency.
Remove crossing and inward-facing branches
Branches that cross each other will eventually wound one another as they move. Branches growing toward the center of the canopy block light from reaching the interior. Both are worth removing, starting with the one that is least structurally important to the overall shape you are working toward.
Timing
Let the plant tell you when it is ready
The pruning window
As day length increases and the plant enters its active growth phase, it is best positioned to recover from pruning. New buds are swelling, energy is moving upward, and cuts heal quickly. This is the time for any significant structural work.
Light maintenance only
The plant is beginning to slow. Light cleanup — removing dead leaves, spent stems, anything clearly unhealthy — is appropriate. Avoid significant cuts that would stimulate a flush of new growth that will not have time to harden before the plant slows for winter.
Observe, don't intervene
Most indoor trees slow considerably in winter. Remove obviously dead or diseased tissue, but otherwise leave the plant alone. Growth stimulated in winter will be weak and drawn out due to lower light levels. This is a season for watching, not cutting.
These always come off
Yellow leaves, dead branches, and any tissue showing signs of pest damage or disease should be removed regardless of season. These are not pruning decisions — they are hygiene decisions. Do not let a calendar stop you from removing something that is clearly compromised.
By Plant Category
Different plants, different approaches
Heavy pruners
Ficus varieties, Schefflera, Pachira, and most tropical trees respond well to pruning and will push back vigorously. Work toward an open canopy with good light penetration. Note that Ficus produces a milky latex sap — wear gloves to avoid skin irritation and wipe the cut with a damp cloth.
Prune with restraint
Brachychiton, Beaucarnea, Euphorbia, and similar plants store energy in their trunks and grow slowly. Pruning stimulates branching but recovery is slow. Allow any cut on Euphorbia to dry for 10 to 15 minutes before placing near soil or other plants — the sap is a skin and eye irritant.
Top to branch
Dracaena and Schefflera Arboricola can be topped to encourage branching when they become too tall or leggy. Cut the main cane cleanly just above a node or leaf cluster. New growth will emerge from just below the cut, creating a fuller silhouette over the coming months.
Common Mistakes
Signs you have over-pruned
Over-pruning is one of the most common and avoidable plant care mistakes. The signs appear gradually, but once you know what to look for, they are unmistakable. If your plant looks worse after pruning rather than better, it is telling you something important about what happened.
- Sudden leaf drop — A plant that loses significant foliage within days of heavy pruning is in stress. Reduce watering, move it to a slightly brighter spot, and stop cutting until new growth appears.
- Weak, etiolated new growth — Pale, stretched new shoots emerging after pruning indicate insufficient light to sustain recovery. The plant is trying to grow but cannot generate enough energy to do it well.
- Stalled growth — If a plant shows no new growth weeks after a spring pruning, the cut may have removed too much. Give it time and good conditions rather than fertilizing aggressively.
- Die-back from cuts — Tissue dying back beyond the cut itself often means the cut was made too far from a node, or the blade was contaminated. Clean the area and let it dry.
- Bark splitting near cuts — Usually caused by dull blades tearing rather than cutting cleanly. Sharpen or replace your tools before continuing.
Every plant we place is chosen to live well indoors for years. Knowing how to shape it over time is part of what makes that possible. We are always here to help.
Explore Plant Maintenance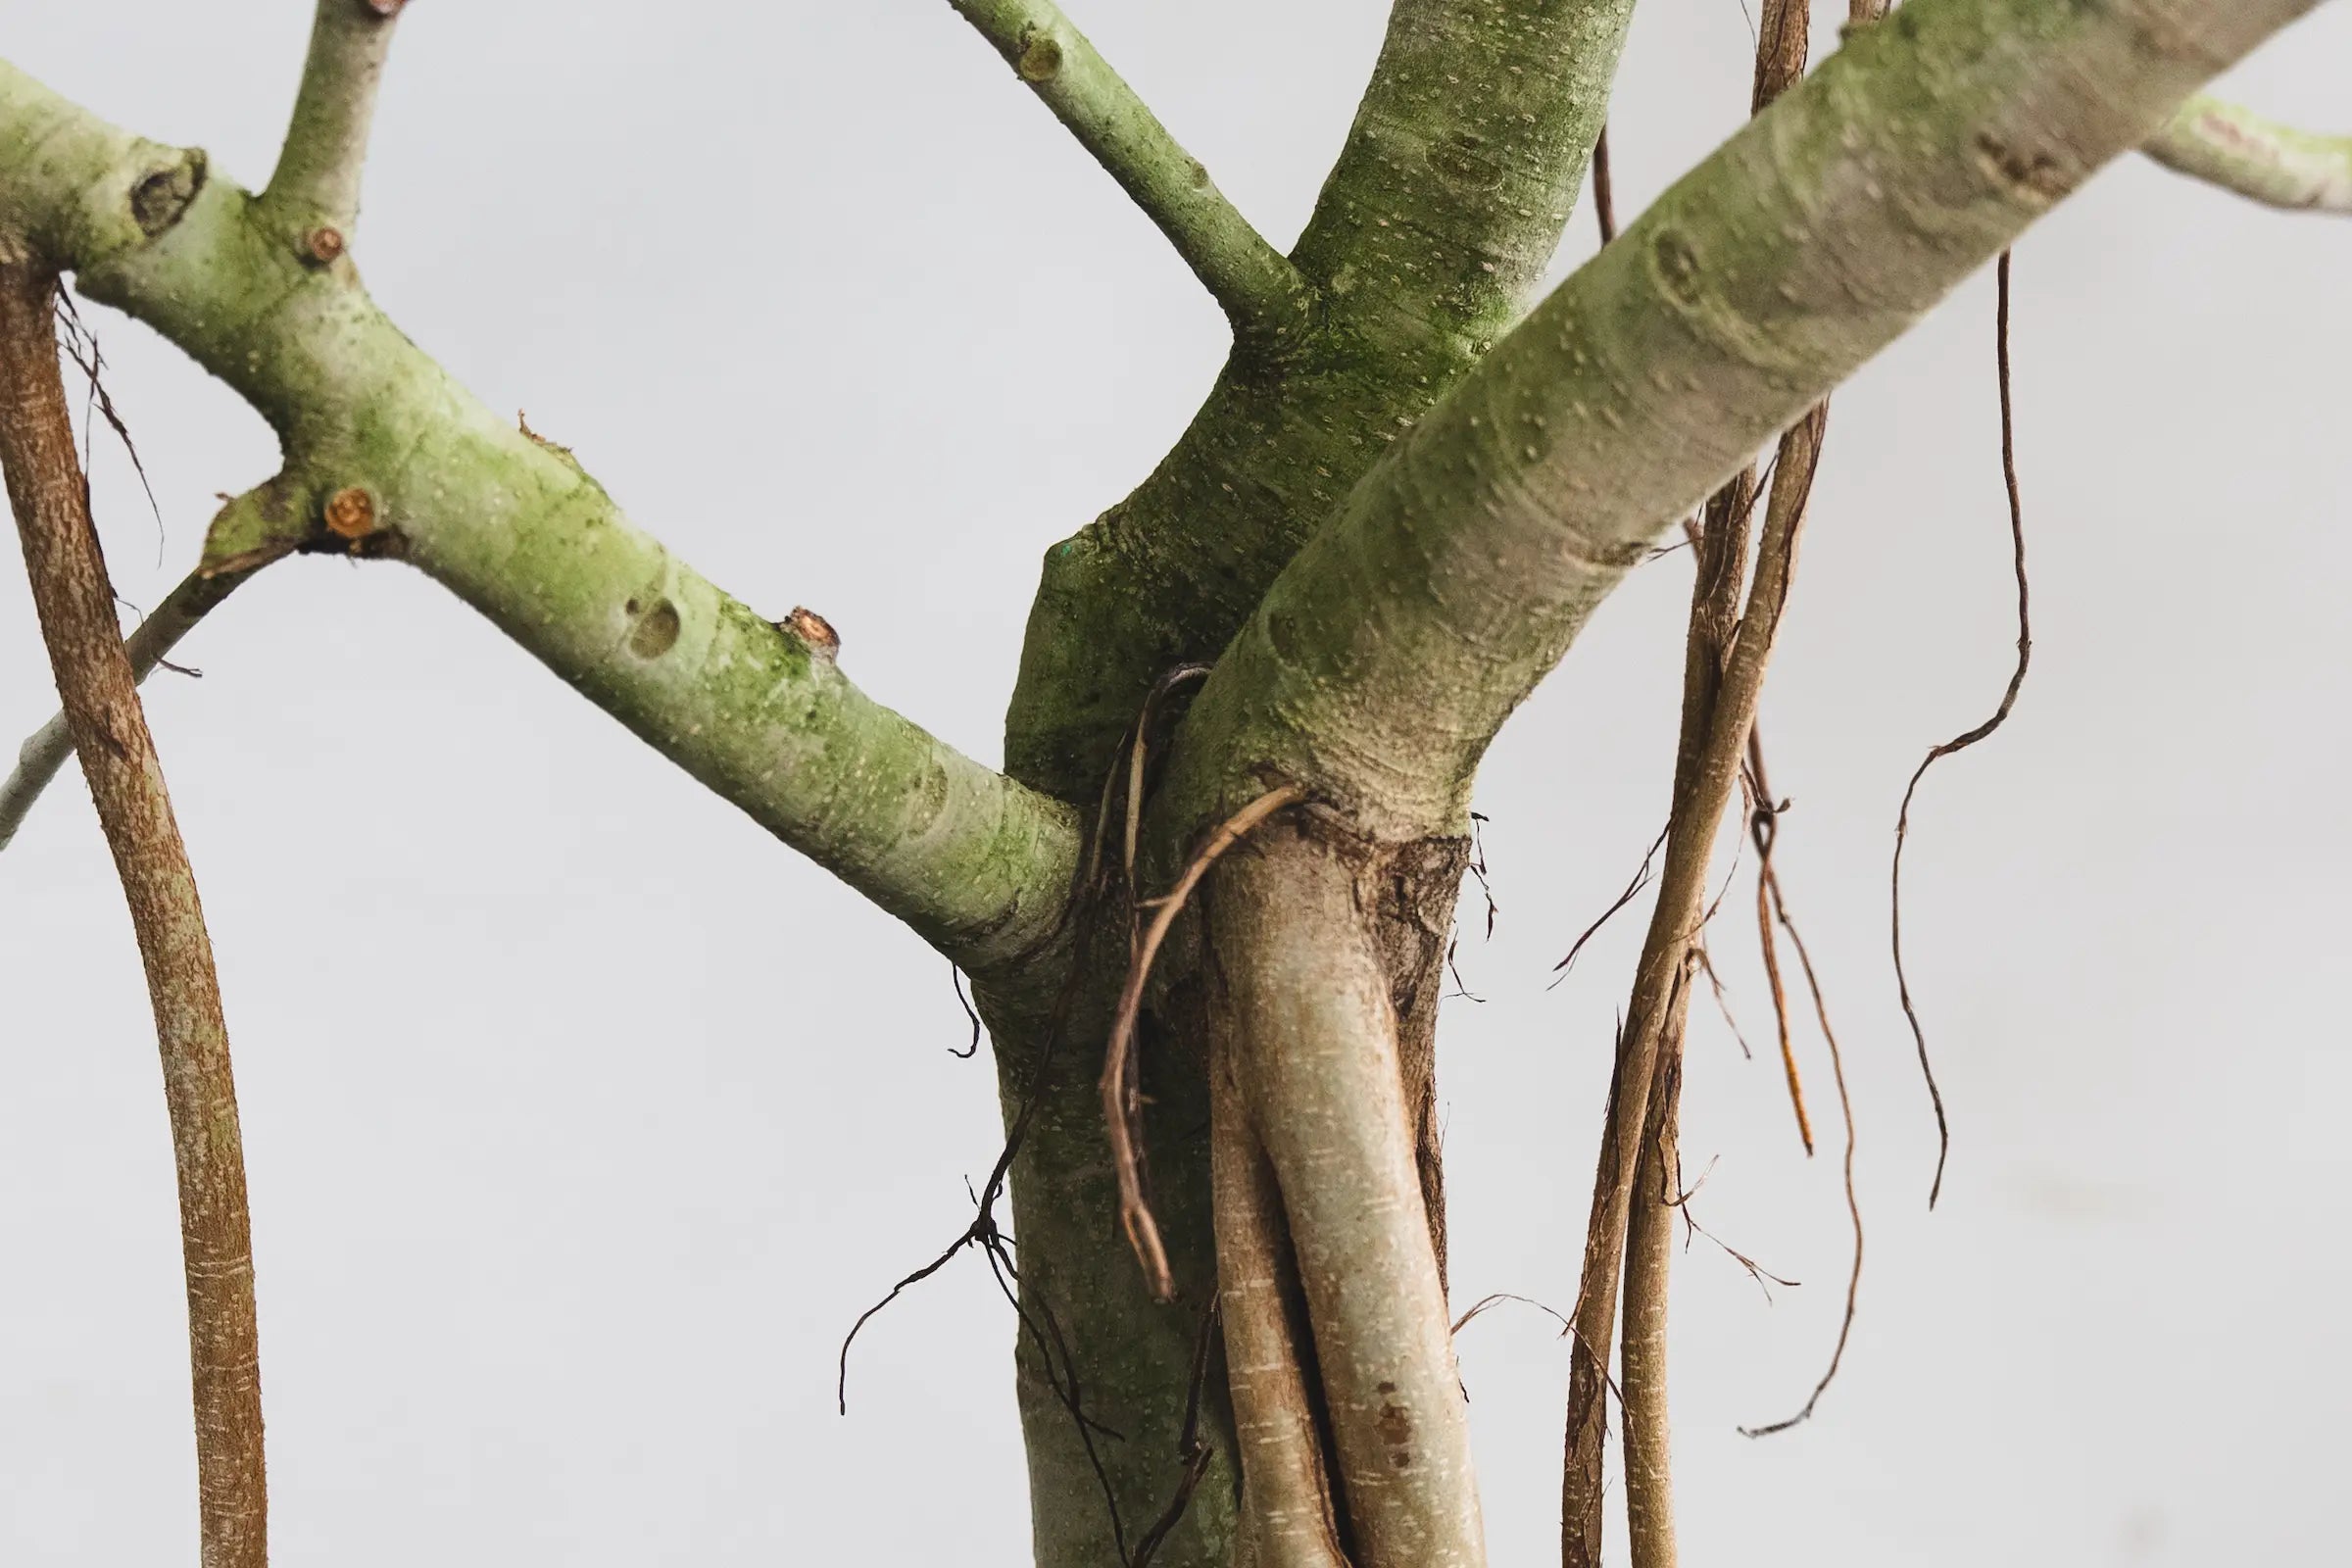
